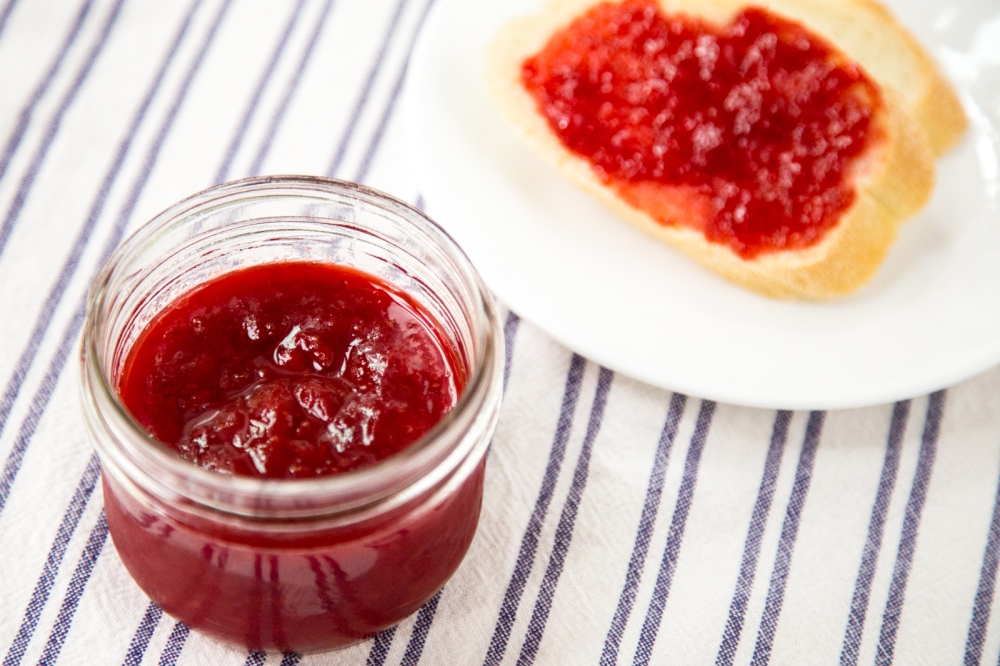
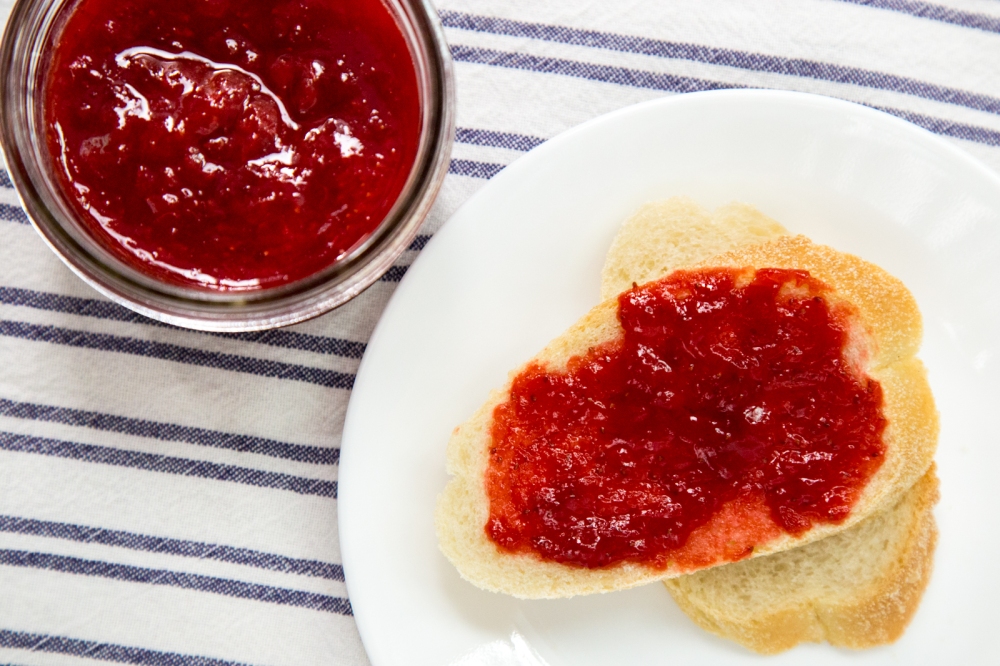
Strawberry season is here! Last year when I was gardening at the farm, I’d pick up pints of local organic strawberries to snack on. And if I can’t eat them fast enough, I’d make strawberry jam which I’d use to spread on toast, top vanilla ice cream or make my own fruit bottom yogurt cups. The great thing about making your own jam is that you know exactly what’s inside and control how sweet you want it to be. This small batch jam recipe is perfect us as it means we can have a different fruit jam every few weeks! You can also use other berries or fruits to make the jam too.
Recipe adapted from the kitchn
Ingredients (makes about 1.5 cups of jam):
- 3 cups of hulled and chopped strawberries (you can use other fruits as well like blackberries, blueberries or stone fruits)
- 1 large lemon
- 1/4 cup of sugar (more if your fruits are not too sweet)
- pinch of salt
Instructions:
- Before you begin chopping your strawberries, put 2-3 metal spoons in the freezer. These spoons will help you test when the jam is ready. Cut the ends off the lemon and slice the peel off in large pieces, then cut the lemon in half. Keep the ends and lemon peels.
- In a heavy bottom pan, add in the chopped strawberries, lemon peels, lemon ends, sugar and a pinch of salt. Squeeze both half of the lemon into the pot (you’d want to squeeze the lemon over your hand so you can catch the seeds), and add in the rinds as well.
- Place the pot with fruit mixture on the burner over medium to medium high heat. While the mixture heats up, use a wooden spoon to mash the strawberries until a desired consistency is reach. I prefer to have chunks of strawberries in my jam so I usually mash them until they are chunky. Don’t mash the lemon rinds too much as you’d have to fish them out later.
- Bring the fruit mixture to a boil while stirring frequently. Let the mixture boil (while you keep stirring frequently) for 8 – 12 minutes or until you see that the bubbles become smaller and the mixture looks thicker. At this point, you can test if the jam is ready. To test, remove a metal spoon from the freezer and dribble a few drops of the jam on to the spoon. Wait a couple of seconds then run your finger through the jam. If it leaves a distinct track in the jam, then it’s done. If not, keep cooking the jam and test again in 5 minutes or so.
- As you test the jam, also taste test for sweetness. If you find it not sweet enough, add 1-2 tablespoons of sugar at a time to adjust the sweetness. If the jam is ready and you need to add more sugar, be sure to cook the jam for another 1-2 minutes to ensure sugar are dissolved.
- When the jam is done, remove from heat and remove the lemon rinds, peel and ends. Pour the jam into a glass container and let cool completely before storing the jam in the fridge. It will thicken slightly after refrigeration.

sounds great! and thanks for the tip on testing it 🙂
LikeLike
Thanks! Hope you liked the recipe 🙂
LikeLike